Stencil Craft
STENCIL CRAFT
BY MABEL TUKE PRIESTMAN
The use of the stencil has become a
strong factor in the decoration of the
home, and when the design and color are of ex-
ceptional merit it adds a distinctive and harmoni-
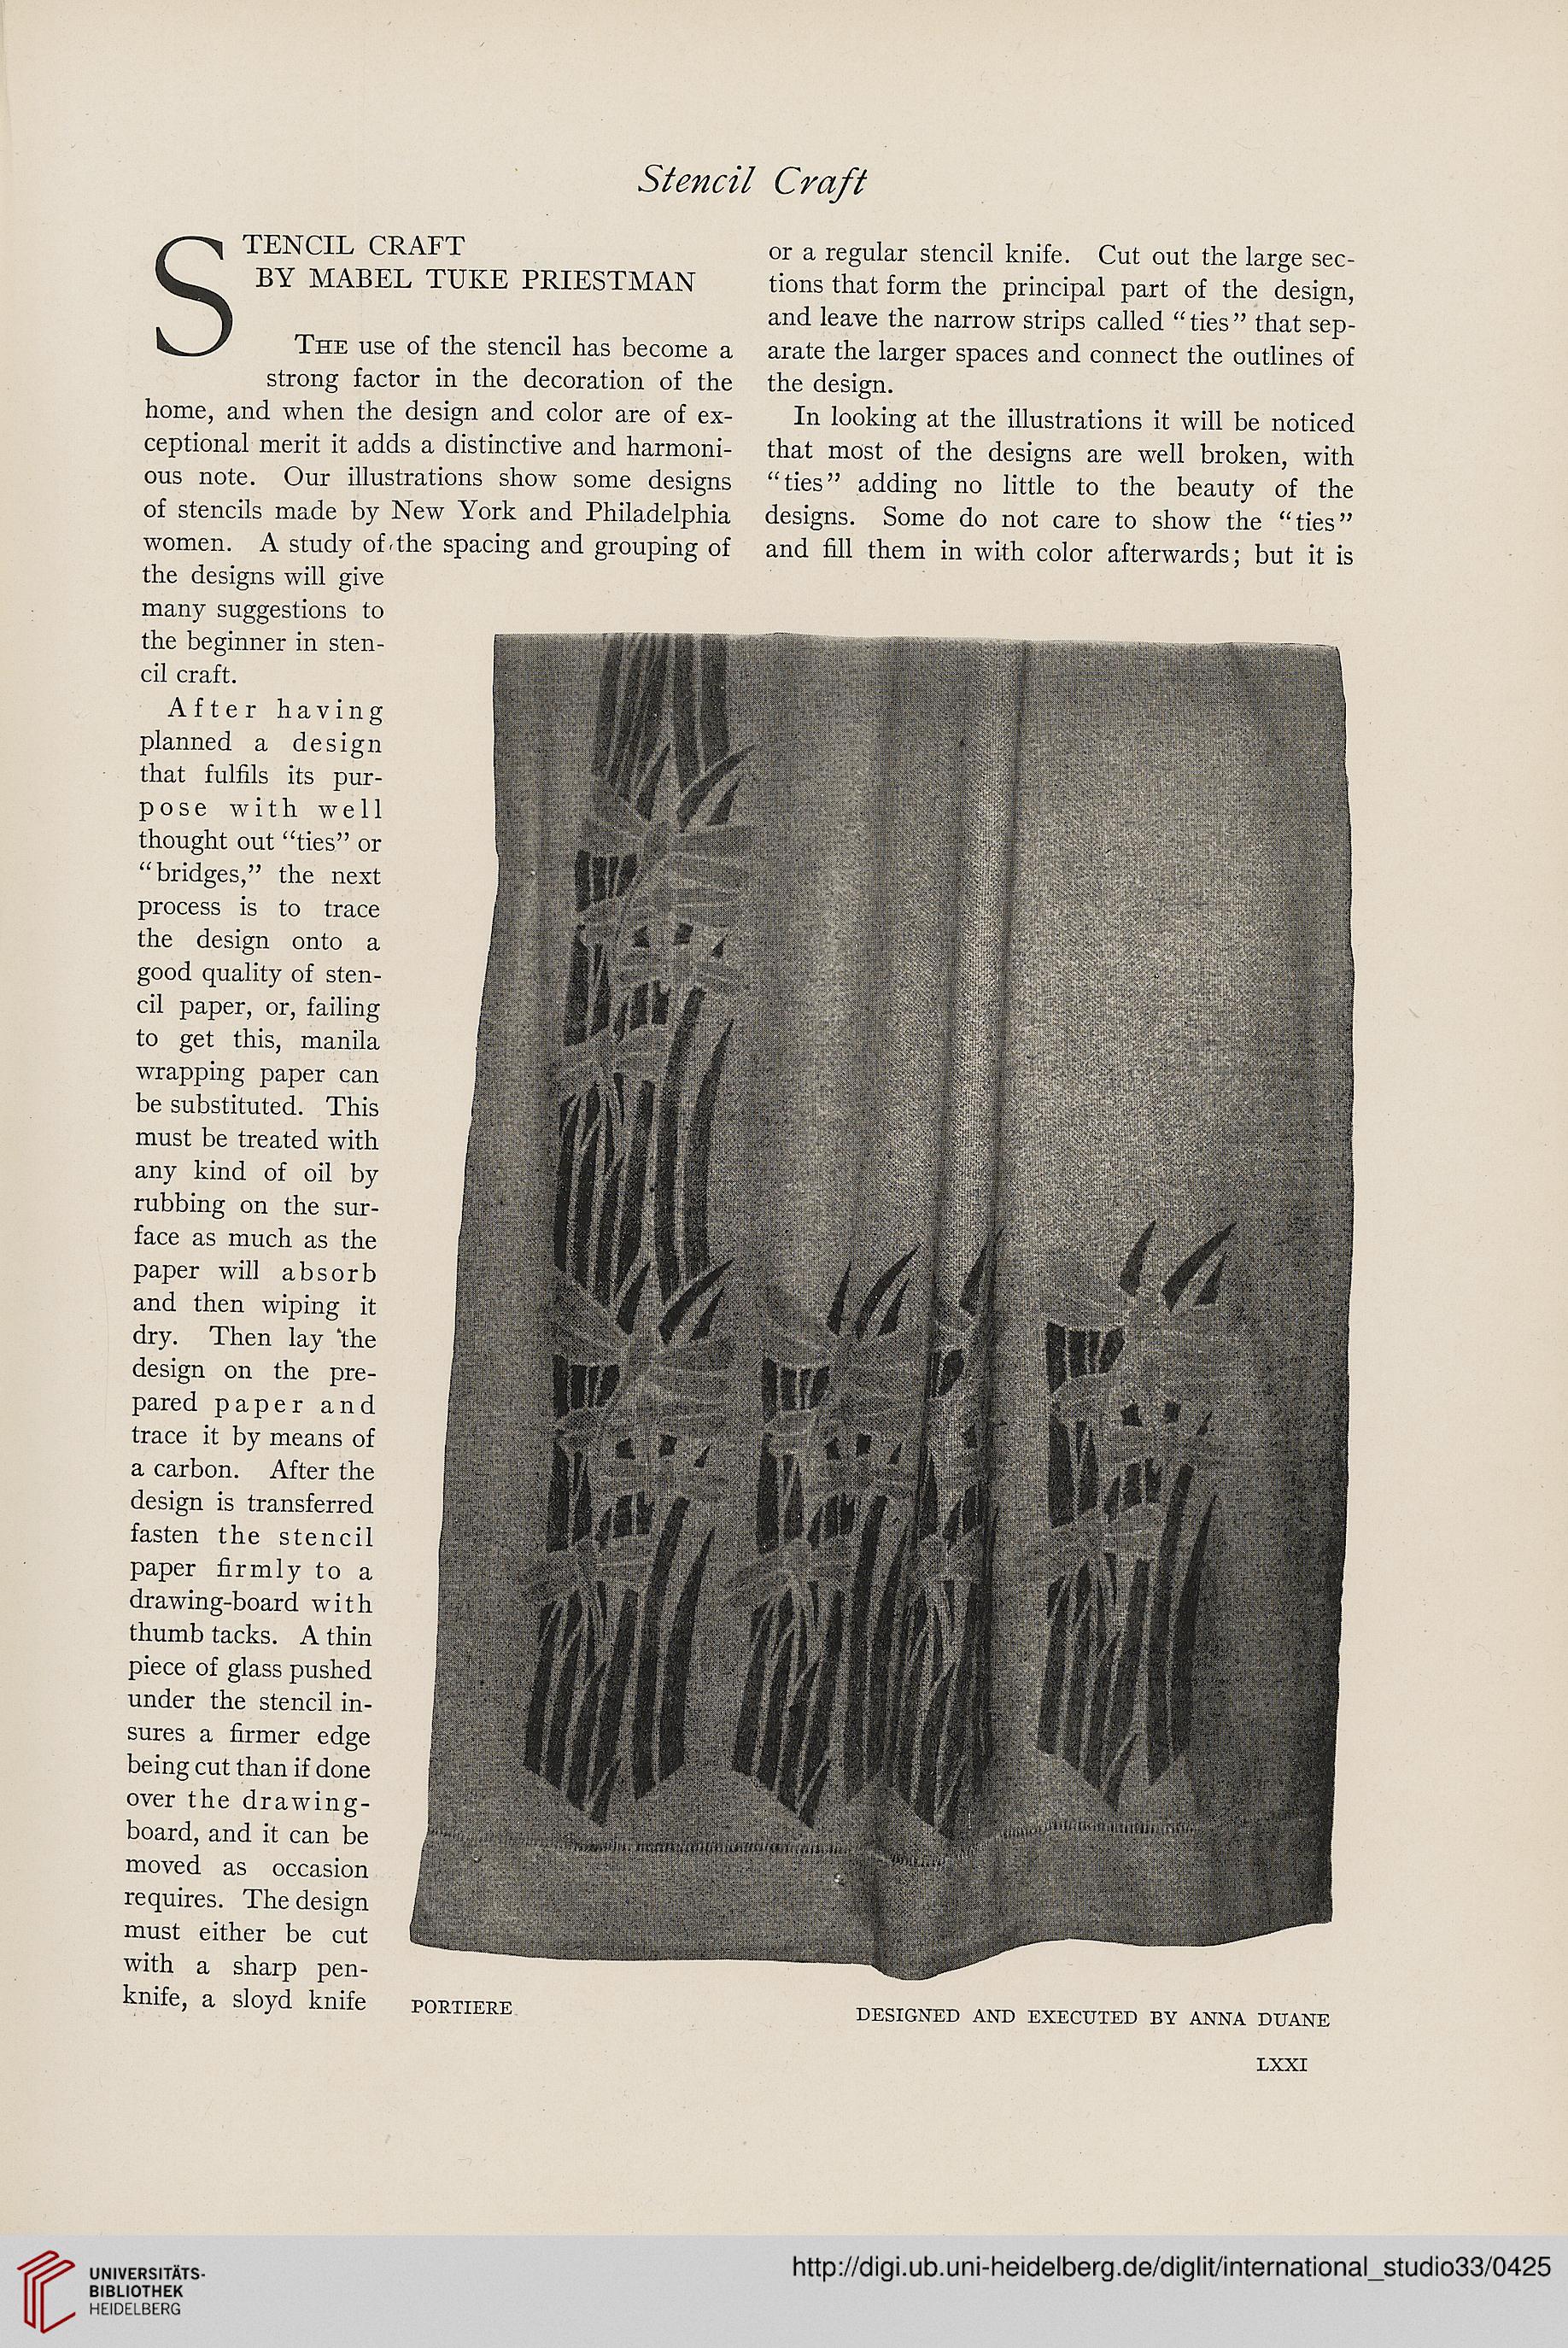
ous note. Our illustrations show some designs
of stencils made by New York and Philadelphia
women. A study of-the spacing and grouping of
the designs will give
many suggestions to
the beginner in sten-
cil craft.
After having
planned a design
that fulfils its pur-
pose with well
thought out “ties” or
“bridges,” the next
process is to trace
the design onto a
good quality of sten-
cil paper, or, failing
to get this, manila
wrapping paper can
be substituted. This
must be treated with
any kind of oil by
rubbing on the sur-
face as much as the
paper will absorb
and then wiping it
dry. Then lay 'the
design on the pre-
pared paper and
trace it by means of
a carbon. After the
design is transferred
fasten the stencil
paper firmly to a
drawing-board with
thumb tacks. A thin
piece of glass pushed
under the stencil in-
sures a firmer edge
being cut than if done
over the drawing-
board, and it can be
moved as occasion
requires. The design
must either be cut
with a sharp pen-
knife, a sloyd knife portiere
or a regular stencil knife. Cut out the large sec-
tions that form the principal part of the design,
and leave the narrow strips called “ ties ” that sep-
arate the larger spaces and connect the outlines of
the design.
In looking at the illustrations it will be noticed
that most of the designs are well broken, with
“ties” adding no little to the beauty of the
designs. Some do not care to show the “ties”
and fill them in with color afterwards; but it is
DESIGNED AND EXECUTED BY ANNA DUANE
LXXI


