

DOI Heft:
Nr. 105 (November, 1905)
DOI Artikel:Ertz, Edward: An easy method of making coloured xylographic prints
DOI Seite / Zitierlink:https://doi.org/10.11588/diglit.26961#0081


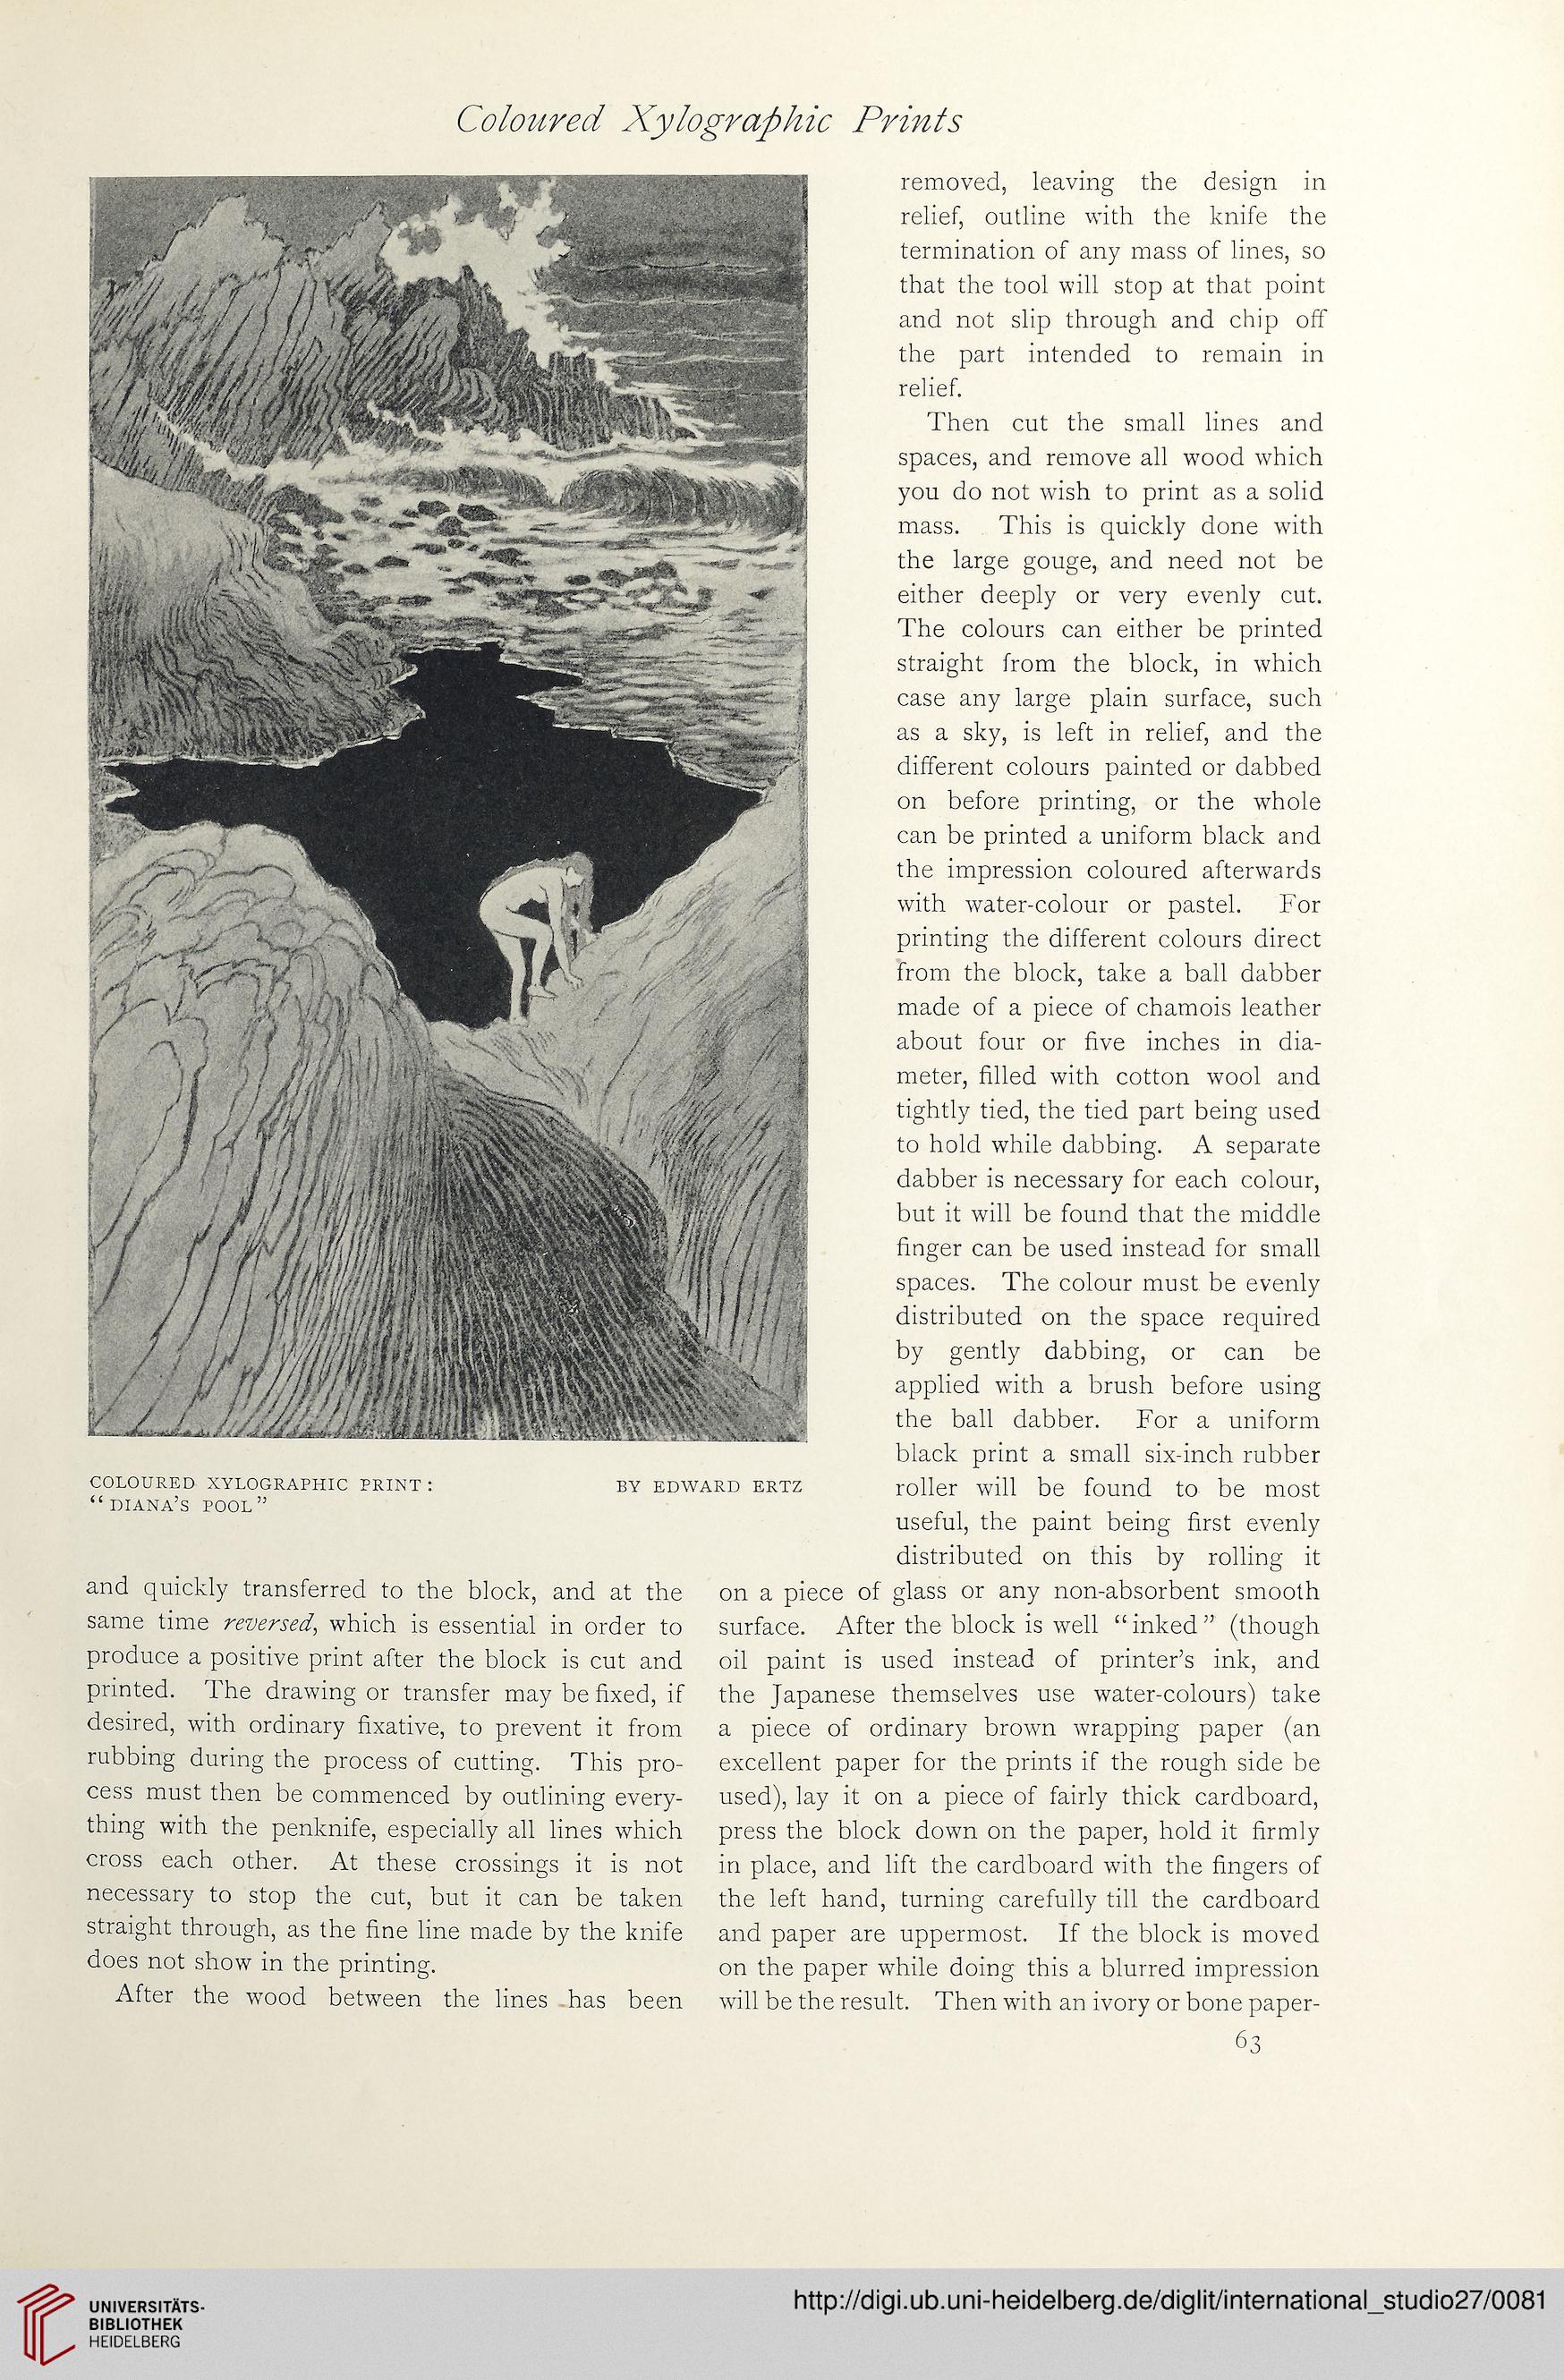
Coloured Xylographie Prints
and quickly transferred to tbe block, and at the
same time reversed, which is essential in Order to
produce a positive print after the block is cut and
printed. The drawing or transfer may be fixed, if
desired, with ordinary fixative, to prevent it from
rubbing during the process of cutting. This pro-
cess must then be commenced by outlining every-
thing with the penknife, especially all lines which
cross each other. At these crossings it is not
necessary to stop the cut, but it can be taken
straight through, as the fine line made by the knife
does not show in the printing.
After the wood between the lines has been
removed, leaving the design in
relief, outline with the knife the
termination of any mass of lines, so
that the tool will stop at that point
and not slip through and chip off
the part intended to remain in
relief.
Then cut the small lines and
spaces, and remove all wood which
you do not wish to print as a solid
mass. This is quickly done with
the large gouge, and need not be
either deeply or very evenly cut.
The colours can either be printed
straight from the block, in which
case any large plain surface, such
as a sky, is left in relief, and the
different colours painted or dabbed
on before printing, or the whole
can be printed a uniform black and
the impression coloured afterwards
with water-colour or pastel. For
printing the different colours direct
from the block, take a ball dabber
made of a piece of chamois leather
about four or five inches in dia-
meter, filled with cotton wool and
tightly tied, the tied part being used
to hold while dabbing. A separate
dabber is necessary for each colour,
but it will be found that the middle
finger can be used instead for small
spaces. The colour must be evenly
distributed on the space required
by gently dabbing, or can be
applied with a brush before using
the ball dabber. For a uniform
black print a small six-inch rubber
roller will be found to be most
useful, the paint being first evenly
distributed on this by rolling it
on a piece of glass or any non-absorbent smooth
surface. After the block is well “inked” (though
oil paint is used instead of printer’s ink, and
the Japanese themselves use water-colours) take
a piece of ordinary brown wrapping paper (an
excellent paper for the prints if the rough side be
used), lay it on a piece of fairly thick cardboard,
press the block down on the paper, hold it firmly
in place, and lift the cardboard with the fingers of
the left hand, turning carefully tili the cardboard
and paper are uppermost. If the block is moved
on the paper while doing this a blurred impression
will be the result. Then with an ivory or bone paper-
63