

DOI Heft:
Nr. 188 (November 1908)
DOI Artikel:McConnochie, Alex Inkson: The making of plaster casts
DOI Seite / Zitierlink: https://doi.org/10.11588/diglit.20965#0154


The Making of Plaster Casts
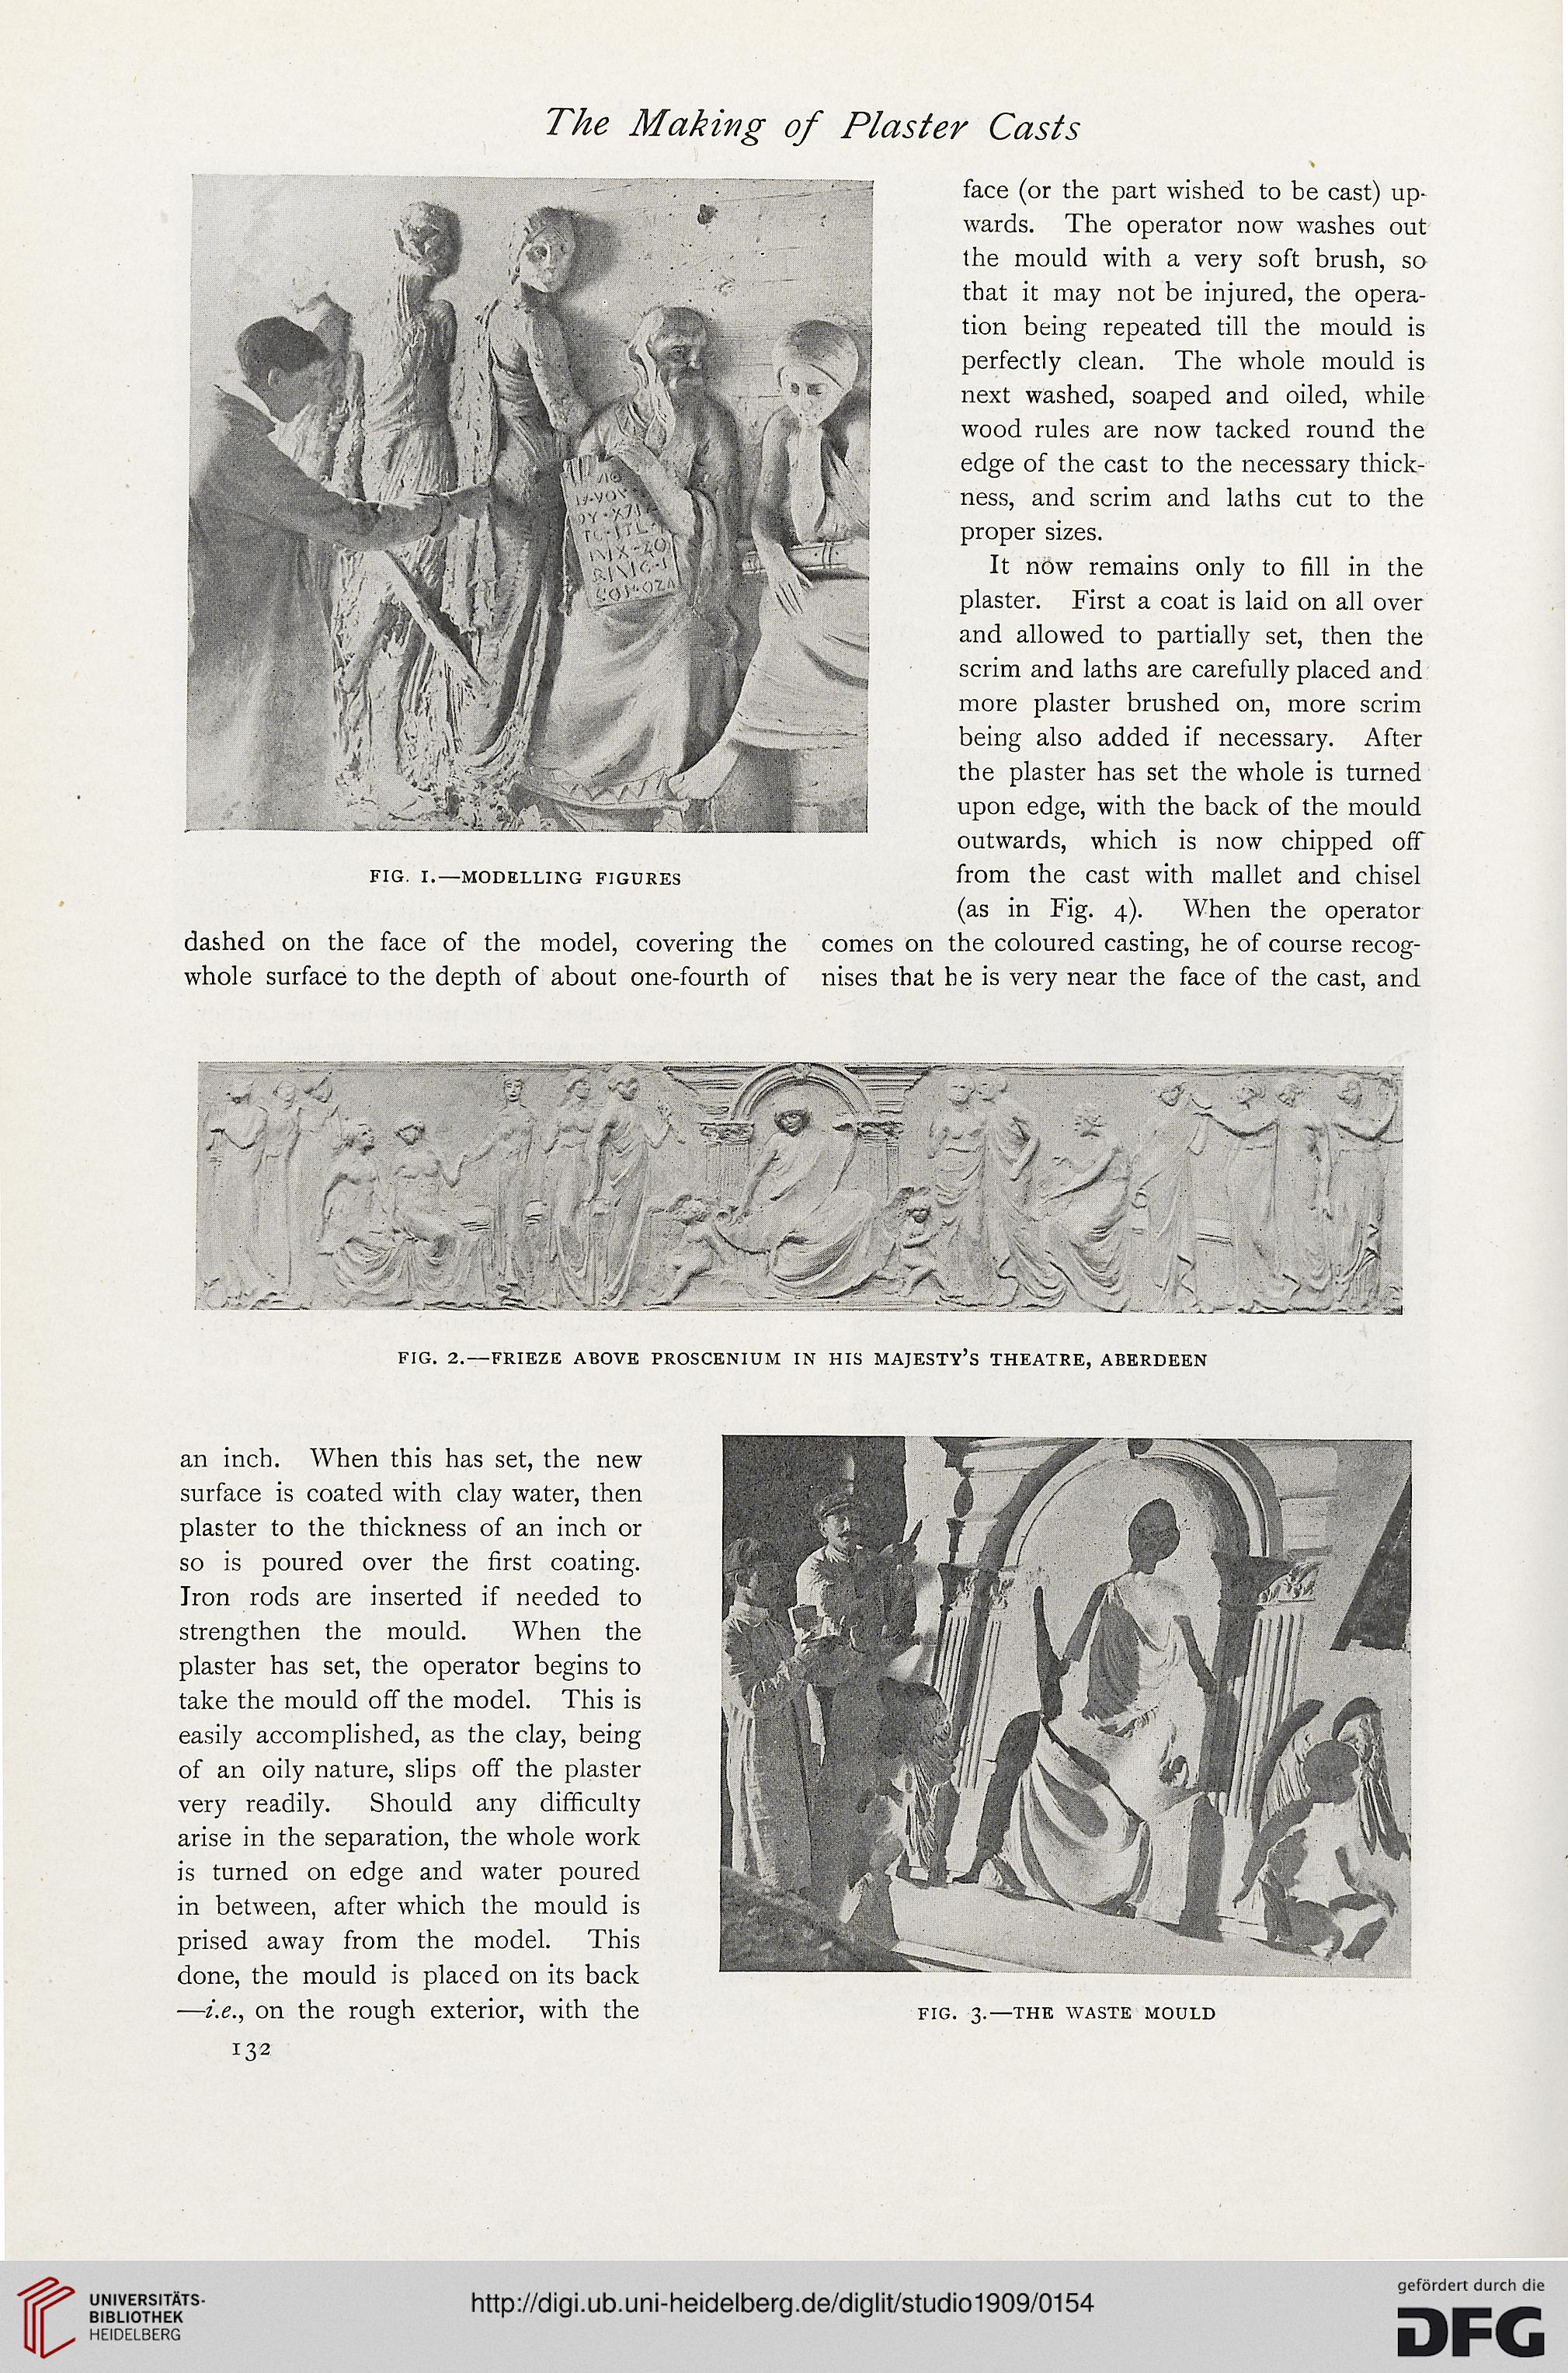
FIG. I.—MODELLING FIGURES
dashed on the face of the model, covering the
whole surface to the depth of about one-fourth of
face (or the part wished to be cast) up-
wards. The operator now washes out
the mould with a very soft brush, so
that it may not be injured, the opera-
tion being repeated till the mould is
perfectly clean. The whole mould is
next washed, soaped and oiled, while
wood rules are now tacked round the
edge of the cast to the necessary thick-
ness, and scrim and laths cut to the
proper sizes.
It now remains only to fill in the
plaster. First a coat is laid on all over
and allowed to partially set, then the
scrim and laths are carefully placed and
more plaster brushed on, more scrim
being also added if necessary. After
the plaster has set the whole is turned
upon edge, with the back of the mould
outwards, which is now chipped off
from the cast with mallet and chisel
(as in Fig. 4). When the operator
comes on the coloured casting, he of course recog-
nises that be is very near the face of the cast, and
' / w
'0 i f
V
'tf.v. <r'
V —1 *•
» J if >1
ïM y :
_
FIG. 2.—FRIEZE ABOVE PROSCENIUM IN HIS MAJESTY’S THEATRE, ABERDEEN
PT:f,h
an inch. When this has set, the new
surface is coated with clay water, then
plaster to the thickness of an inch or
so is poured over the first coating.
Iron rods are inserted if needed to
strengthen the mould. When the
plaster has set, the operator begins to
take the mould off the model. This is
easily accomplished, as the clay, being
of an oily nature, slips off the plaster
very readily. Should any difficulty
arise in the separation, the whole work
is turned on edge and water poured
in between, after which the mould is
prised away from the model. This
done, the mould is placed on its back
—i.e., on the rough exterior, with the
132
FIG. 3.—THE WASTE MOULD