

DOI Heft:
No. 318 (September 1919)
DOI Artikel:Seaby, Allen William: Colour-printing from wood-blocks
DOI Seite / Zitierlink:https://doi.org/10.11588/diglit.21358#0169


COLOUR-PRINTING FROM WOOD-BLOCKS
within the angle of the right-angled nick
should be removed with a flat chisel to
the depth of, say, the thickness of a post
card. The left-hand nick should be treated
similarly. 00000
Indian ink should have been prepared
beforehand for printing with. A stick of
good ink should be broken up and placed
in a cup of water and left for two or three
days. The water, which has dissolved out
the gum or cementing material, is then
poured away, and the softened pieces
placed within a wide-mouthed bottle. To
prevent the contents emitting a putrid
odour, a drop of creasote may be poured on
a wad of paper fastened to the bottom of
the cork. 00000
The preparation of the colour-blocks
can now be commenced. Two or more
colour-blocks should be in readiness with
both sides well pasted, as well as the
second surface of the key-block, but before
this the paper left on the lines of the key-
block should be gently washed off with a
brush or soft sponge. The block should
be partly dried, and loose bits of damp
paper removed. Generally it will be found
that more clearing away of waste spaces
remains to be done. 000
Some of the softened ink should now be
taken out of the bottle with a palette-knife,
an ivory one for preference, and rubbed
down on a plate or slab, with a drop of water
if not moist enough. The black should be
applied to the block with a broad brush. A
Japanese brush is here shown, but a varnish-
brush, or even a stencil-brush, will prove
efficient. The brush should be used vigor-
ously at first to ensure even distribution, but
the last strokes should merely caress the
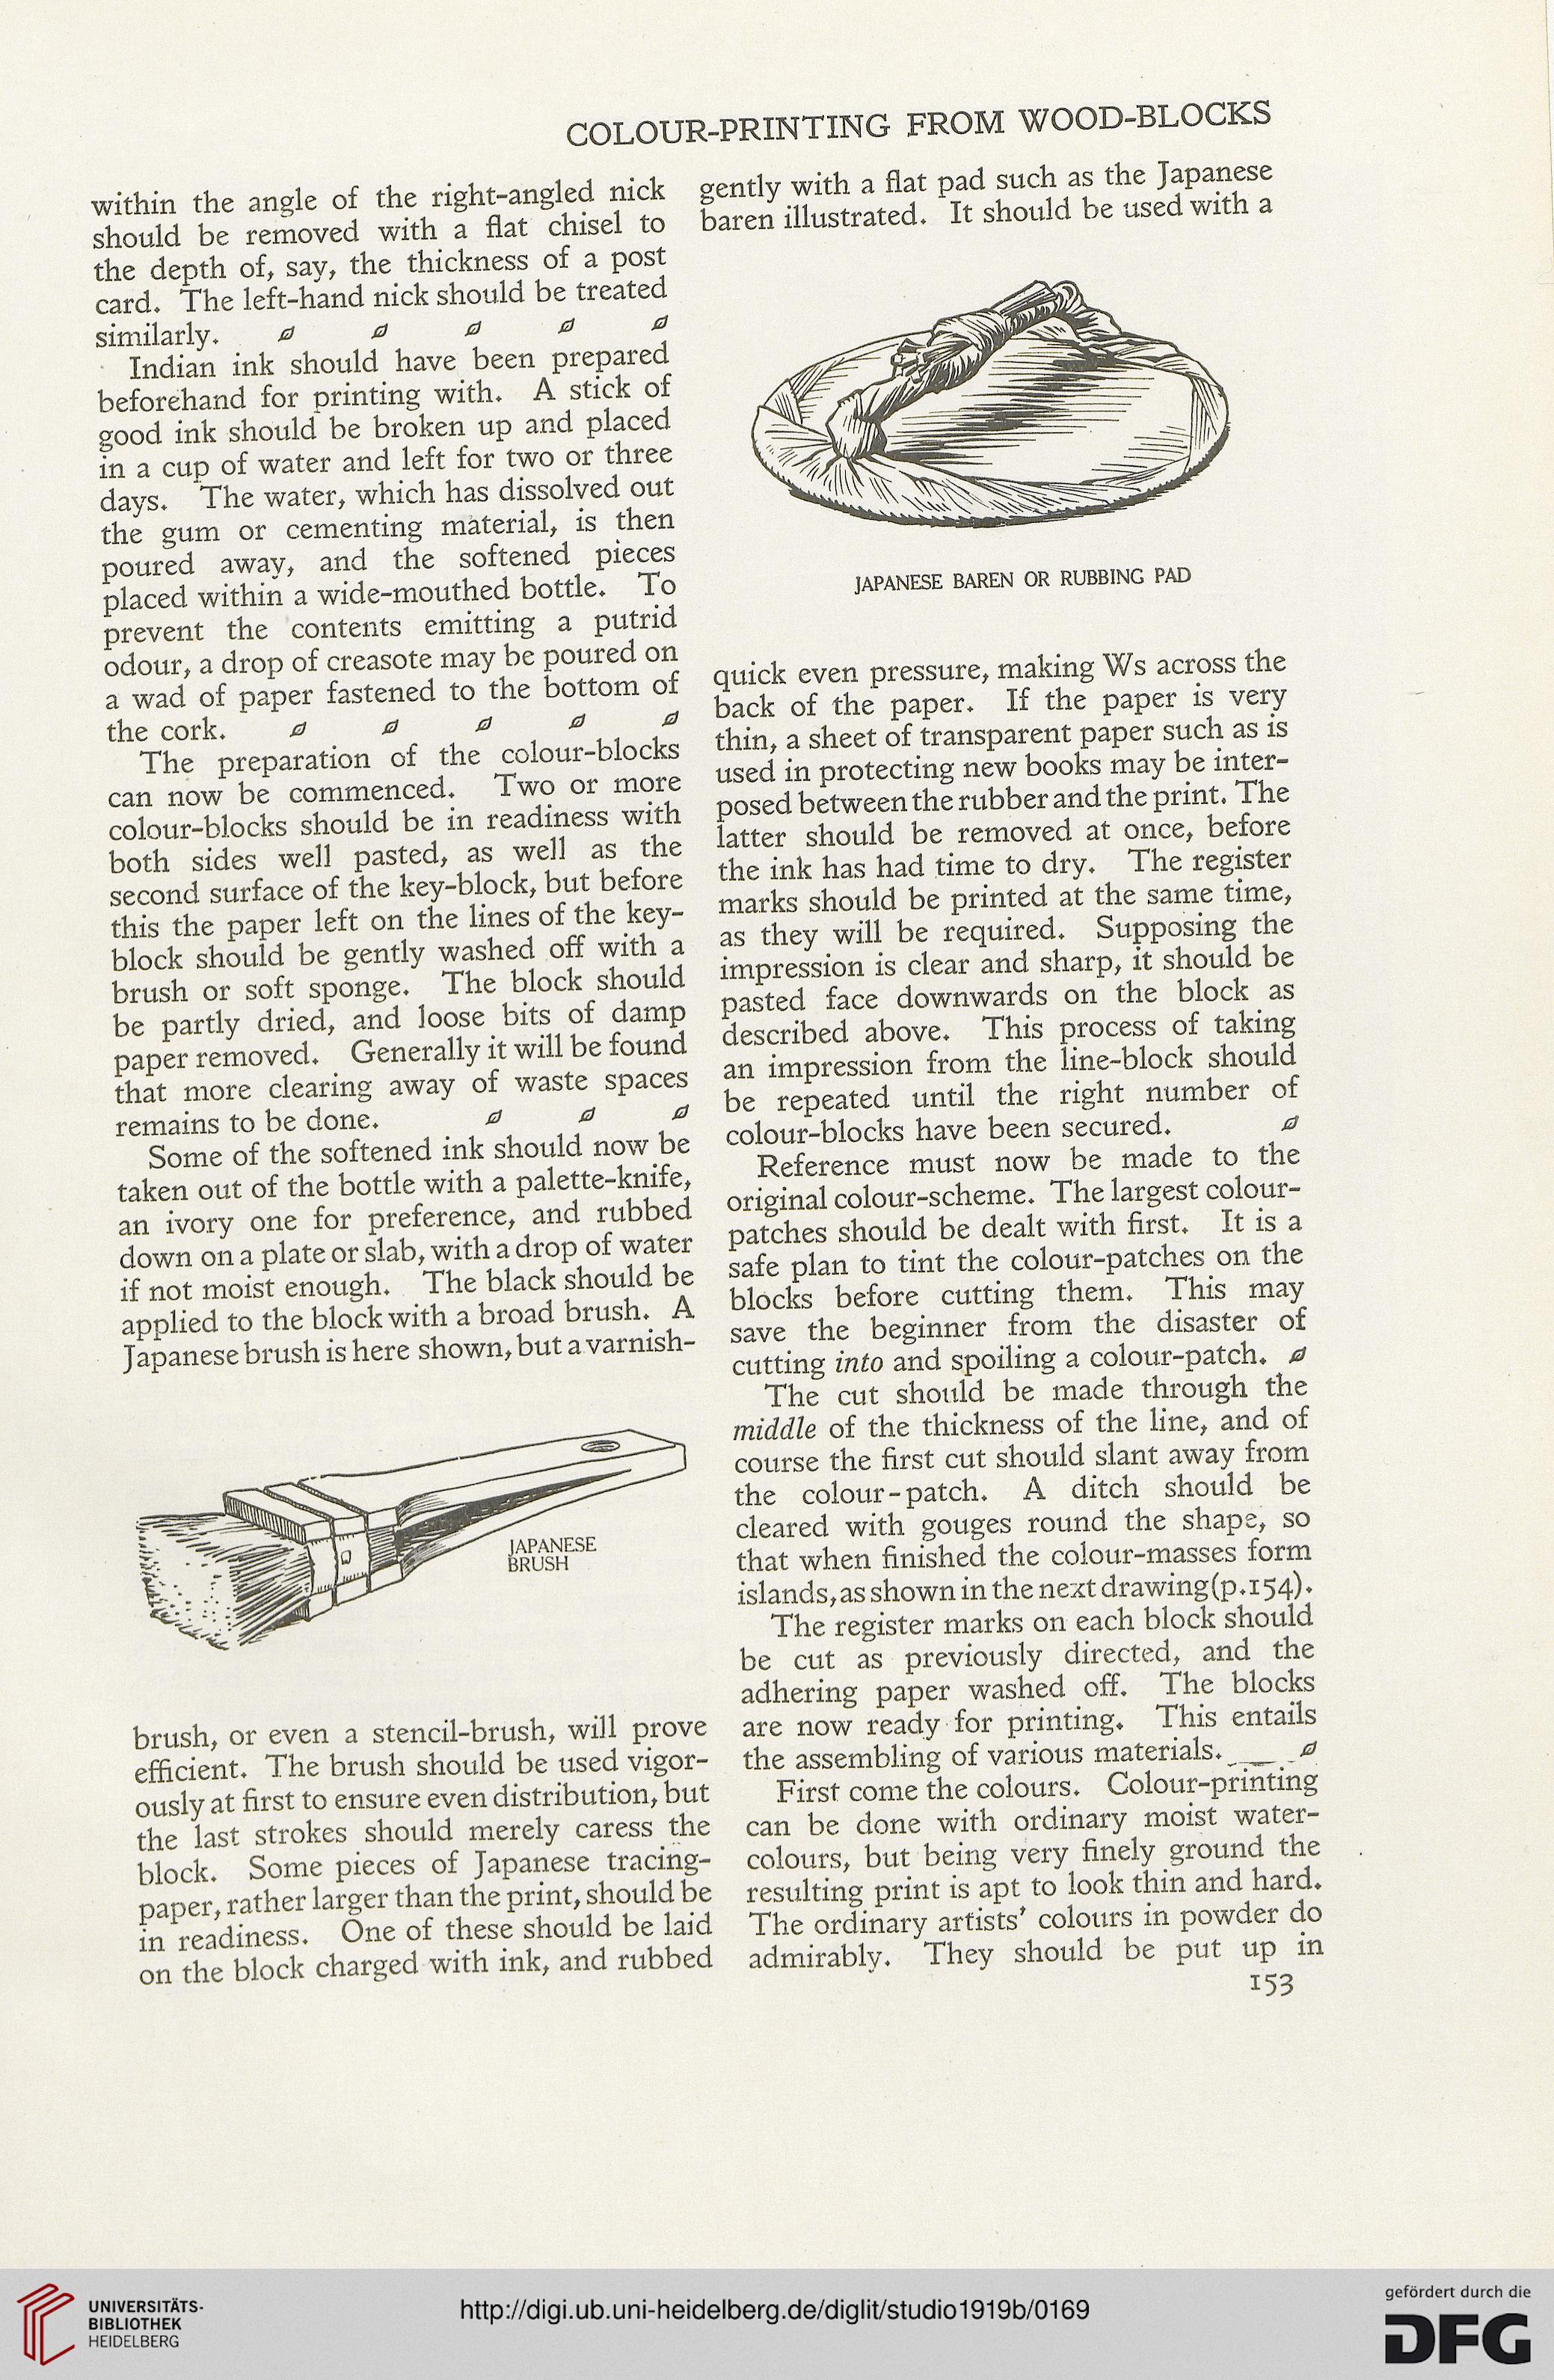
block. Some pieces of Japanese tracing-
paper, rather larger than the print, should be
in readiness. One of these should be laid
on the block charged with ink, and rubbed
gently with a flat pad such as the Japanese
baren illustrated. It should be used with a
JAPANESE BAREN OR RUBBING PAD
quick even pressure, making Ws across the
back of the paper. If the paper is very
thin, a sheet of transparent paper such as is
used in protecting new books may be inter-
posed between the rubber and the print. The
latter should be removed at once, before
the ink has had time to dry. The register
marks should be printed at the same time,
as they will be required. Supposing the
impression is clear and sharp, it should be
pasted face downwards on the block as
described above. This process of taking
an impression from the line-block should
be repeated until the right number of
colour-blocks have been secured. 0
Reference must now be made to the
original colour-scheme. The largest colour-
patches should be dealt with first. It is a
safe plan to tint the colour-patches on the
blocks before cutting them. This may
save the beginner from the disaster of
cutting into and spoiling a colour-patch. 0
The cut should be made through the
middle of the thickness of the line, and of
course the first cut should slant away from
the colour-patch. A ditch should be
cleared with gouges round the shape, so
that when finished the colour-masses form
islands, as shown in the next drawing(p. 154).
The register marks on each block should
be cut as previously directed, and the
adhering paper washed off. The blocks
are now ready for printing. This entails
the assembling of various materials._0
First come the colours. Colour-printing
can be done with ordinary moist water-
colours, but being very finely ground the
resulting print is apt to look thin and hard.
The ordinary artists' colours in powder do
admirably. They should be put up in
153
within the angle of the right-angled nick
should be removed with a flat chisel to
the depth of, say, the thickness of a post
card. The left-hand nick should be treated
similarly. 00000
Indian ink should have been prepared
beforehand for printing with. A stick of
good ink should be broken up and placed
in a cup of water and left for two or three
days. The water, which has dissolved out
the gum or cementing material, is then
poured away, and the softened pieces
placed within a wide-mouthed bottle. To
prevent the contents emitting a putrid
odour, a drop of creasote may be poured on
a wad of paper fastened to the bottom of
the cork. 00000
The preparation of the colour-blocks
can now be commenced. Two or more
colour-blocks should be in readiness with
both sides well pasted, as well as the
second surface of the key-block, but before
this the paper left on the lines of the key-
block should be gently washed off with a
brush or soft sponge. The block should
be partly dried, and loose bits of damp
paper removed. Generally it will be found
that more clearing away of waste spaces
remains to be done. 000
Some of the softened ink should now be
taken out of the bottle with a palette-knife,
an ivory one for preference, and rubbed
down on a plate or slab, with a drop of water
if not moist enough. The black should be
applied to the block with a broad brush. A
Japanese brush is here shown, but a varnish-
brush, or even a stencil-brush, will prove
efficient. The brush should be used vigor-
ously at first to ensure even distribution, but
the last strokes should merely caress the
block. Some pieces of Japanese tracing-
paper, rather larger than the print, should be
in readiness. One of these should be laid
on the block charged with ink, and rubbed
gently with a flat pad such as the Japanese
baren illustrated. It should be used with a
JAPANESE BAREN OR RUBBING PAD
quick even pressure, making Ws across the
back of the paper. If the paper is very
thin, a sheet of transparent paper such as is
used in protecting new books may be inter-
posed between the rubber and the print. The
latter should be removed at once, before
the ink has had time to dry. The register
marks should be printed at the same time,
as they will be required. Supposing the
impression is clear and sharp, it should be
pasted face downwards on the block as
described above. This process of taking
an impression from the line-block should
be repeated until the right number of
colour-blocks have been secured. 0
Reference must now be made to the
original colour-scheme. The largest colour-
patches should be dealt with first. It is a
safe plan to tint the colour-patches on the
blocks before cutting them. This may
save the beginner from the disaster of
cutting into and spoiling a colour-patch. 0
The cut should be made through the
middle of the thickness of the line, and of
course the first cut should slant away from
the colour-patch. A ditch should be
cleared with gouges round the shape, so
that when finished the colour-masses form
islands, as shown in the next drawing(p. 154).
The register marks on each block should
be cut as previously directed, and the
adhering paper washed off. The blocks
are now ready for printing. This entails
the assembling of various materials._0
First come the colours. Colour-printing
can be done with ordinary moist water-
colours, but being very finely ground the
resulting print is apt to look thin and hard.
The ordinary artists' colours in powder do
admirably. They should be put up in
153